Cart (0)
Totale parziale
0,00 €
Iberian Peninsula express shipping
0€ Orders over 60€
*6€ orders under 59€
East, West, South Europe express shipping
0€ Orders over 150€
*18€ orders under 149€
North Europe express shipping
0€ Orders over 160€
*20€ orders under 159€
Ireland, Norway, UK normal shipping
0€ Orders over 60€
*6€ orders under 59€
Rest of the world normal shipping
0€ Orders over 180€
*25€ orders under 179€
Shipping costs can be confirmed in your shopping cart.
For additional shipping methods, please reach out through info@kannabia.com.


*Website protected by SSL.
**Not available in all regions.
*Your coupon will be sent via email.
*Should you have any question, comment or feedback, please do not hesitate to contact us.
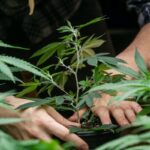
Personally, I don’t transplant most of my plants; only those that I have placed small flowerpots and, those that, when the flowering time comes, require a change; even having replaced the substrate with compost and humus. Usually they are high sativa percentage genetics, since they require much more food than an indica genetics.
My technique consists of leaving an approximate 30 cm of free pot to be able, after the solstice, to place the plants new substrate made up of compost, mycorrhiza worm humus, trichoderma, microalgae, etc., so that the plant starts a next ‘happy’ cycle and does not stress due to the lack of food.

If you start with small pots with your cannabis genetics, we are going to see when a good time to transplant is.
It is recommended to do three transplants:
As we stated in a previous article (biodynamic cultivation), if you want to follow a biodynamic crop, you will have to carry out these transplants in a new and growing moon, which is when the sap ascends to the aerial part of the plants. You must always try to do a good watering a little before the sun goes down; asmuch as is the ideal time to do so.
We must carry out this technique carefully, do not panic and try to remove the entire pot and place it immediately in a larger pot. After that, cover quickly and water again after having completed it.
If you do not have much experience and you damage the roots a bit, REMEMBER not to expose the plant that was transplanted to the sun, at least for a few days. If it became much stressed, and it has significantly decreased, keep it pulverised, hydrated and in a cool place without winds that could stress it even more.
The plant will most probably recover in a week and you will see how the growth returns to normal.
If you saw that it begins to die, surely it is because the main root has been affected and it will be your turn to start again.
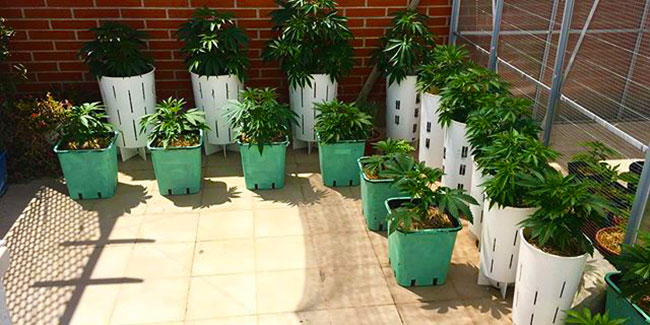
For the first transplant, you can start with a 1.5 or 2 l small pot; then, 15 or 20 days when the plant doubles the size of the pot. Is at that moment when you can transplant to 7 or 10 l. pot.
After 20 or 30 days of this second transplant, the plant will have already generated a visible support and would have doubled the size of the pot again, this will be the last transplant to a 15 or 20 l pot. before the flowering.
If you cultivate indoors, the shape of the transplant will depend a lot on the space you have and the type of crop.
For a conventional crop you can make the first transplant when the plant reaches a height between 25 and 30 cm that will be between 3 and 4 weeks from germination, deciding the liters of pot according to the space. A second transplant should be done after 15 or 20 days and a final one before flowering, as in the case of outdoor transplants.
I hope this article has been helpful and that your crops are prosperous and get better and better.
I invite you to follow my accounts :
Instagram: @dra_weed
Twitter: kyloveone Dra Weed
Facebook

In an online survey of 1,513 patients, who receive cannabis from dispensaries, researchers from different scientific institutions across the USA revealed that a large number significantly reduced their use of several other medications. Among respondents…
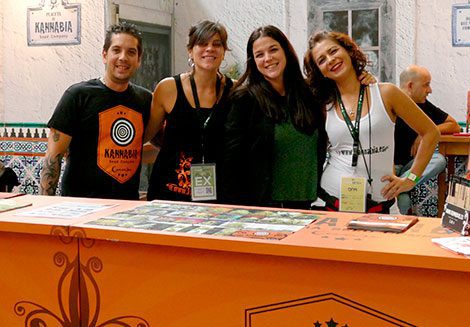
We are back! Expogrow V edition has been a fantastic experience and we don’t want to miss the opportunity to share some moments and images with you all. This fifth anniversary of the fair has…